AEG L99695HWD Manuel d'utilisateur
Naviguer en ligne ou télécharger Manuel d'utilisateur pour Machines à laver AEG L99695HWD. Aeg L99695HWD User Manual [fr] [nl] Manuel d'utilisatio
- Page / 48
- Table des matières
- DEPANNAGE
- MARQUE LIVRES
- L 99695 HWD 1
- CUSTOMER CARE AND SERVICE 2
- CONTENTS 2
- FOR PERFECT RESULTS 2
- 1. SAFETY INFORMATION 3
- General Safety 3
- SAFETY INSTRUCTIONS 5
- 2.2 Electrical Connection 6
- 2.3 Water Connection 6
- 2.5 Compressor 6
- 2.6 Disposal 6
- 3. PRODUCT DESCRIPTION 7
- 4. CONTROL PANEL 8
- 4.2 Display 9
- Graphic bars 10
- ENGLISH 11 11
- 5. PROGRAMMES 12
- 6. CONSUMPTION VALUES 17
- 7. SETTINGS 18
- 8. OPTIONS 18
- 9. BEFORE FIRST USE 20
- DAILY USE - WASHING ONLY 20
- 10.3 Loading the laundry 21
- 10.5 Liquid or powder 22
- 10.6 Starting a programme 22
- 11. END OF THE PROGRAMME 24
- 12. DAILY USE - DRYING ONLY 24
- 12.2 Automatic drying 25
- 12.3 Timed drying 25
- 12.4 At the end of the drying 25
- 14. HINTS AND TIPS 27
- 15. CARE AND CLEANING 29
- 15.6 Cleaning the air filters 30
- ENGLISH 31 31
- ENGLISH 33 33
- 16. TROUBLESHOOTING 34
- 16.1 Introduction 35
- 16.2 Possible failures 35
- ENGLISH 37 37
- 16.3 Emergency door opening 38
- 17. INSTALLATION 39
- 17.2 Fixing plate kit 41
- (4055171146) 41
- ≥ 870 mm 42
- 17.5 The inlet hose 43
- 17.6 Water-stop device 43
- 17.7 Water drainage 43
- 18. TECHNICAL DATA 45
- 19. ENVIRONMENT CONCERNS 46
- ENGLISH 47 47
- 132906062-A-472014 48
Résumé du contenu
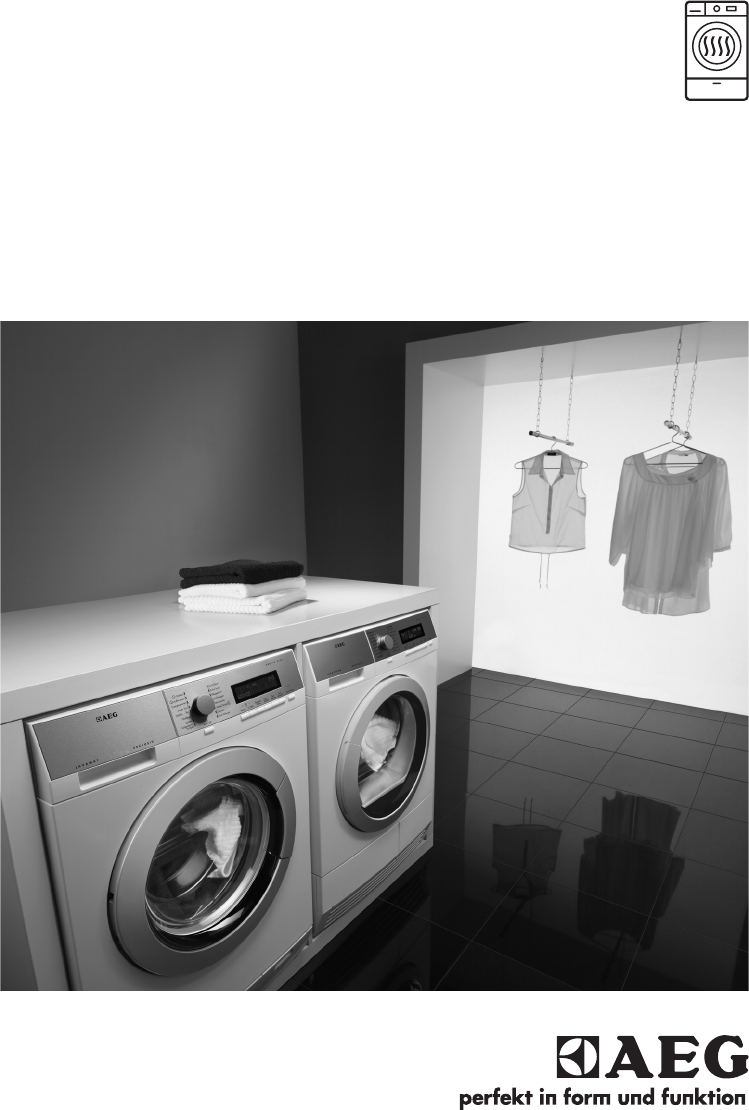
EN User ManualWasher DryerL 99695 HWD
DDigit areaTime of the dayWhen you activate the appliance the display shows the time of the day for someseconds. To adjust the clock, refer to "C
FTime saveThe indicator comes on when you set one of the programme dura-tion.Shortened timeExtra QuickG Indicator for air filtersHExtra rinsingThe val
5. PROGRAMMES5.1 Programme ChartProgrammeTemperaturerangeMaximum loadMaximum spinspeedProgramme description(Type of load and soil level)Washing/Drying
ProgrammeTemperaturerangeMaximum loadMaximum spinspeedProgramme description(Type of load and soil level)Fijne Was - Déli-cats40°C - Cold4 kg1200 rpmDe
ProgrammeTemperaturerangeMaximum loadMaximum spinspeedProgramme description(Type of load and soil level)Opfrissen - Rafraî-chir40°Cup to 1.5 kg Steam
ProgrammeT./minPrewashStainsSoakExtra Spoelen - Rinçage+ 1)Tijd Besparen - Gain de Temps2)Startuitstel - Départ DifféréKatoen Eco - CotonEco
Dryness Level Type of fabric LoadCupboard Dry1)For items to put awayCottons and Linen(bathrobes, bath towels, etc)up to 6 kgSynthetics and mixed fabri
5.4 Woolmark Apparel Care -Blue• The wool wash cycle of this machinehas been approved by The WoolmarkCompany for the washing of woolgarments labelled
Programmes Load(kg)Energyconsump-tion (kWh)Water con-sumption (li-tre)Approximate pro-gramme duration(minutes)Wool/Handwash 30 °C 1.5 0.35 59 581) «Co
8.3 Programme knobTurn this knob to set a programme. Therelated programme indicator comes on.8.4 Automatisch -AutomatiqueTouch this button to set one
CONTENTS1. SAFETY INFORMATION...32. SAFETY INSTRUCTIONS.
The display shows onlythe spin speeds availablefor the set programme.• Deactivate the spin phase ( 'No spin'function).• Activate the Rinse H
The programme indicator comes on.The indicator of Start/Pauze - Départ/Pause button flashes with red colour.The display shows the defaulttemperature a
Maximum level for quantity of liquidadditives.Flap for powder or liquid detergent.Always obey the instructionsthat you find on thepackaging of the det
10.7 Behaviour of theapplianceAfter approximately 15minutes from the start of theprogramme:• The appliance adjustsautomatically the cycletime to the l
• The drum turns regularly to preventthe creases in the laundry.• The door stays locked.• You must drain the water to open thedoor:1. If necessary, de
At the beginning of thedrying cycle (3 – 5 min.)there could be a slightlyhigher sound level. This isthe compressor start and it isquite normal for com
13.1 NON-STOP programmeYou can wash and dry your laundrysetting a «non stop-programme».Proceed as follows:1. Press button Aan/Uit - Marche/Arrêtfor so
• To dry this type of fabrics at open airwhen they are washed the first time.• To clean the drain filter.• After the drying phase, clean the airfilter
• Always start a washing programmewith the maximum load of laundry.• If necessary, use a stain remover whenyou set a programme with a lowtemperature.•
15. CARE AND CLEANINGWARNING!Refer to Safety chapters.15.1 External cleaningClean the appliance only with soap andwarm water. Fully dry all the surfac
1. SAFETY INFORMATIONBefore the installation and use of the appliance,carefully read the supplied instructions. Themanufacturer is not responsible i
3. 4.15.6 Cleaning the air filtersThe air filters collect the fluff. The fluff normally occurs when the clothesare dried in a washer-dryer.• At the en
5. PULL6. 7. 8. 9.10. +To have best drying performances clean regularly the air filters with warmwater and afterwards dry them with a towel. Clogged
1.122.2113. 4.125.126.7. 8.12www.aeg.com32
9.12 15.8 Cleaning the inlet hose filter and the valve filterIt could be necessary to clean the filters when:• The appliance does not fill with water.
• Clean the filter in the valve with a stiffbrush or a towel.45°20°• Install again the inlet hose. Make sure thatthe couplings are tight to preventlea
16.1 IntroductionThe start of the appliance does not occur or it stops during operation.First try to find a solution to the problem (refer to the tabl
Message Possible solutionAt the end of the washingcycle the display tells thattoo much detergent wasused.This is not a failure but a suggestion for ne
Problem Possible solution Make sure that the drain hose have no damages. Make sure you use the correct detergent and the correctquantity of it.You c
Problem Possible solution Make sure you have set the correct cycle. If necessary, seta short drying time again.The drying cycle is too long. Make sur
5. Take out the laundry and then closethe appliance door.6. Close the filter flap.17. INSTALLATIONWARNING!Refer to Safety chapters.17.1 UnpackingWARNI
side, where the appliance door can not be fullyopened.• Connect the mains plug to the mains socket only atthe end of the installation. Make sure that
• Remove the internal film.• Open the door.• Remove the polystyrene piece fromthe door seal and all the items fromthe drum.• Put one of the polystyren
• Pull up the appliance in verticalposition.• Remove the power supply cable andthe drain hose from the hose holders.It is possible to see waterflowing
17.3 Installation under a counter600 mm600 mm≥ 870 mmThe appliance can be installed asfreestanding or below the kitchen counterwith correct space (see
17.5 The inlet hose20O20O45O45O• Connect the hose to the back appliance.Turn the inlet hose only left or right.• Loose the ring nut to set it in the c
• Making an U form with the drain hose.On the edge of a sink• Make sure that the plastic guide cannotmove when the appliance drains. Attachthe guide t
To a sink spigot• Refer to the illustration. Put the drain hosein the spigot and tighten it with a clip.• Make sure that the drain hose makes aloop to
Wool 1Spin Speed Maximum 1600 rpm1) Connect the water inlet hose to a water tap with a 3/4'' thread.19. ENVIRONMENT CONCERNSRecycle the ma
ENGLISH 47
www.aeg.com/shop132906062-A-472014
• Items such as foam rubber (latex foam), shower caps,waterproof textiles, rubber backed articles and clothesor pillows fitted with foam rubber pads s
2.2 Electrical ConnectionWARNING!Risk of fire and electricalshock.• The appliance must be earthed.• Always use a correctly installedshockproof socket.
3. PRODUCT DESCRIPTION3.1 Appliance overview1 2 3 41167895121314101Worktop2Detergent dispenser3Air filter(s)4Control panel5Door handle6Rating plate7Dr
3.3 Accessories1 2341 SpannerTo remove the transit bolts.2 Plastic capsTo close the holes on the rear side of thecabinet after the removal of the tran
4.2 DisplayA B C DEFGHIJKThe display shows:AThe text bar:• Guides you in the use of the appliance.• Shows the programme status and phase.• Shows alarm
Plus de documents pour Machines à laver AEG L99695HWD


Produits connexes et manuels pour Machines à laver AEG L99695HWD

 (72 pages)
 (52 pages)
 (60 pages)
 (52 pages)
© 2020, manymanuals.fr. Tous droits réservés | 0.855 s |
 Manymanuals.com
 Manymanuals.de
 Manymanuals.fr
 Manymanuals.it
 Manymanuals.pl
 Manymanuals.cz
 Manymanuals.es
 Manymanuals-pt.com
Commentaires sur ces manuels